How to Install & Setup Dokku on DigitalOcean
Dokku is a fantastic free and open-source project for creating your very own docker-powered PaaS (Platform as a Service) that helps you build and manage the lifecycle of your applications. You can think of it as your own self-hosted Heroku, for a fraction of the cost.
Dokku can be installed on any hardware and makes it super easy to manage your server. Creating containers for each app is a breeze and can be done via Dokku commands in the terminal. Redirecting and SSL certificates are covered too, Dokku let's you create free SSL certificates with let's encrypt that are auto renewed just before they expire.
Once your up and running with your host, you can use Git to push your application to the server. Each time you make an updated to the application and make a new push, your container environment is torn down, and recreated once again according to your configuration. Dokku also support zero-down-time deploys, as it can keep your old environment alive until the new one is fully built.
In this tutorial I will show you how we can install and setup Dokku on a DigitalOcean VPS.
1. Point Your Domain to DigitalOcean's Name Server
Unless you want to host your application or website from an IP address the first thing we always have to do is point our domain to our hosts name servers.
All domain retailers provides documentation tailored to their platform on how to change the name server, it should not be hard to find..
Point your domain to DigitalOcean's name server
- ns1.digitalocean.com
- ns2.digitalocean.com
- ns3.digitalocean.com
2. Create a DigitalOcean Project
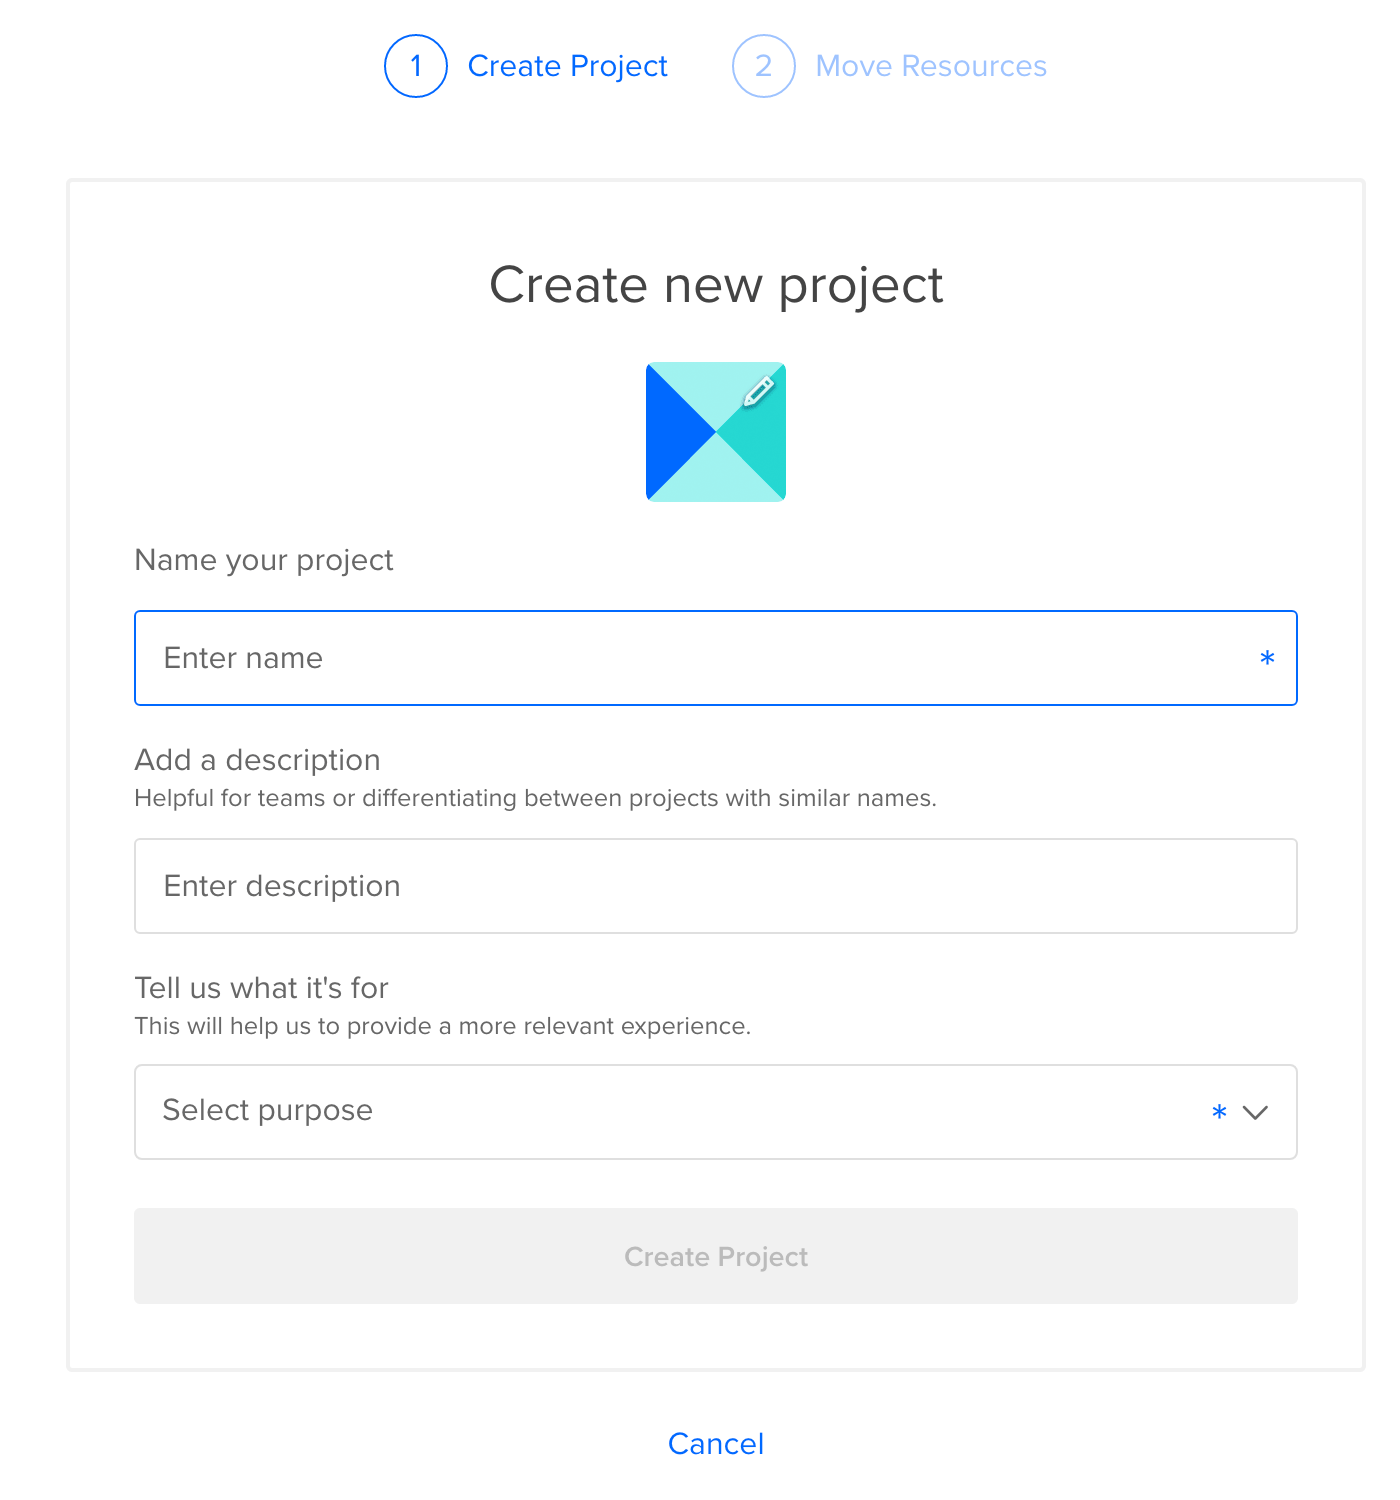
Once you have pointed your domain we can go ahead and create a new project from within the DigitalOcean dashboard.
Click "Create Project" in the menu and follow the instructions provided by DigitalOcean

2. Create a Droplet
When you have created a new project we can go head and create a new droplet. Droplets is the name DigitalOcean call the VPS instances, its just your server.
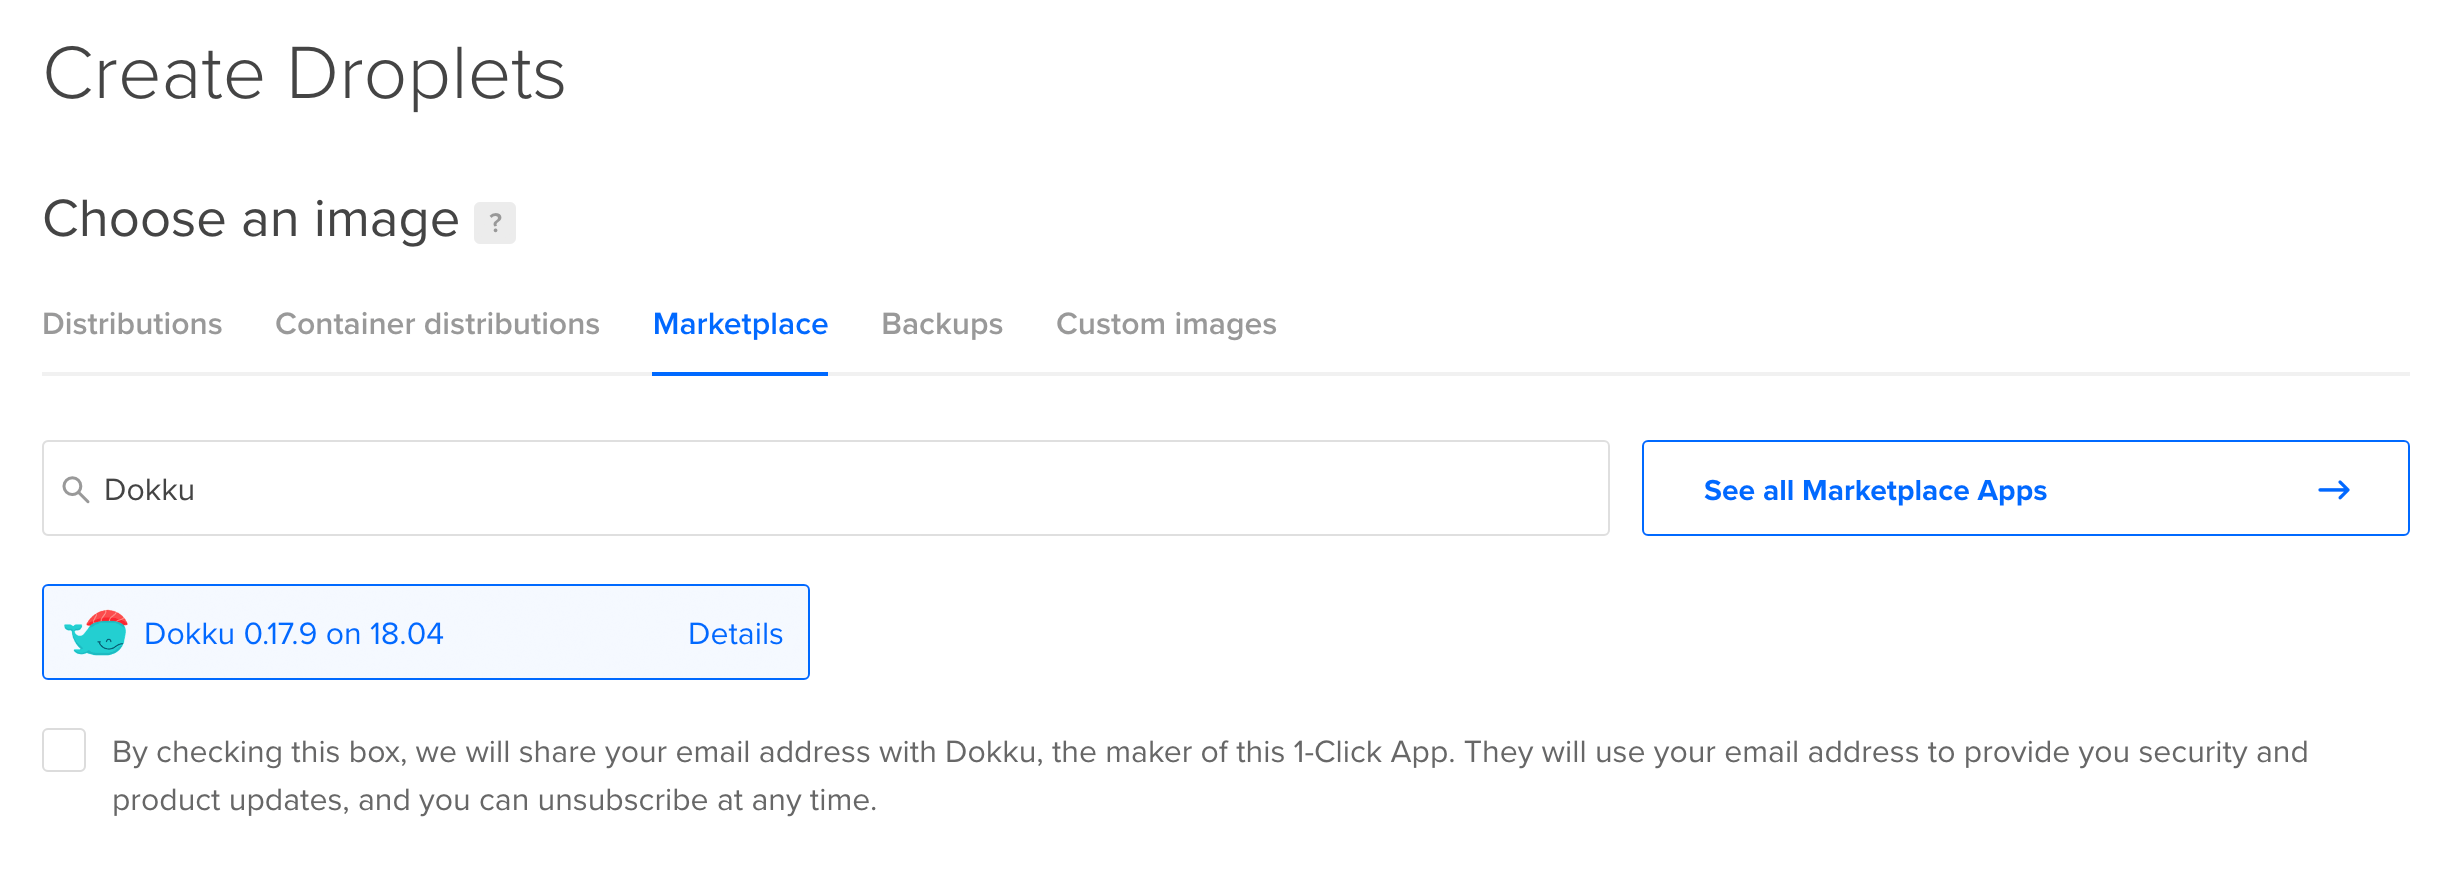
Luckily the DigitalOcean marketplace provides a pre-configured Ubuntu 18.04 LTS and Dokku 0.17.9. We can use this to save some valuble time, as it requires less server configuration.
You find it under the marketplace tab, while searching for "dokku" How to Install & Setup Dokku on DigitalOcean
When you have selected "Dokku 0.17.9 on 18.04" we can go ahead and select a region for our server.

Once you have selected a region suited for you we can go ahead and select an SSH key that we want to associate with our new server. We choose to authenticate via SSH keys as it is generally much more secure that using a one-time password.
3. Add your SSH key to DigitalOcean
I won't cover how to create an SSH key on your computer in this tutorial. However, I have written another tutorial on how to create SSH keys on macOS that you might find handy.
When you got your SSH key at hand, you will have to open your DigitalOcean cloud dashboard and navigate to navigate Settings > security or the url cloud.digitalocean.com/account/security and click the button Add SSH Key.

4. SSH into your newly created droplet
Once you droplet has booted up we can go ahead and open our terminal and SSH into the newly created droplet.
ssh root@123.456.789.101
You will be asked to enter the password of the SSH key you use. If your athentication is successful you will be greeted with the following prompt.
********************************************************************************

Welcome to DigitalOcean's One-Click Dokku Droplet.
To keep this Droplet secure, the UFW firewall is enabled.
All ports are BLOCKED except 22 (SSH), 80 (HTTP), 443 (HTTPS),
2375 (Docker) and 2376 (Docker).

In a web browser, you can view:
 * The Dokku One-Click Quickstart guide: http://do.co/dokku1804#start
 * Your Dokku setup page: http://123.456.789.101

For help and more information, visit http://do.co/dokku1804

********************************************************************************
To delete this message of the day: rm -rf /etc/update-motd.d/99-one-click

The programs included with the Ubuntu system are free software;
the exact distribution terms for each program are described in the
individual files in /usr/share/doc/*/copyright.

Ubuntu comes with ABSOLUTELY NO WARRANTY, to the extent permitted by
applicable law.
5. Update Dokku
Before we start configuring our Dokku setup it's wise to update to the latest version of Dokku.
We can install the latest version with wget.
wget https://raw.githubusercontent.com/dokku/dokku/v0.20.2/bootstrap.sh

sudo DOKKU_TAG=v0.20.2 bash bootstrap.sh
To make sure you are updating to the latest version of Dokku you can check the release page.
6. Setup Dokku
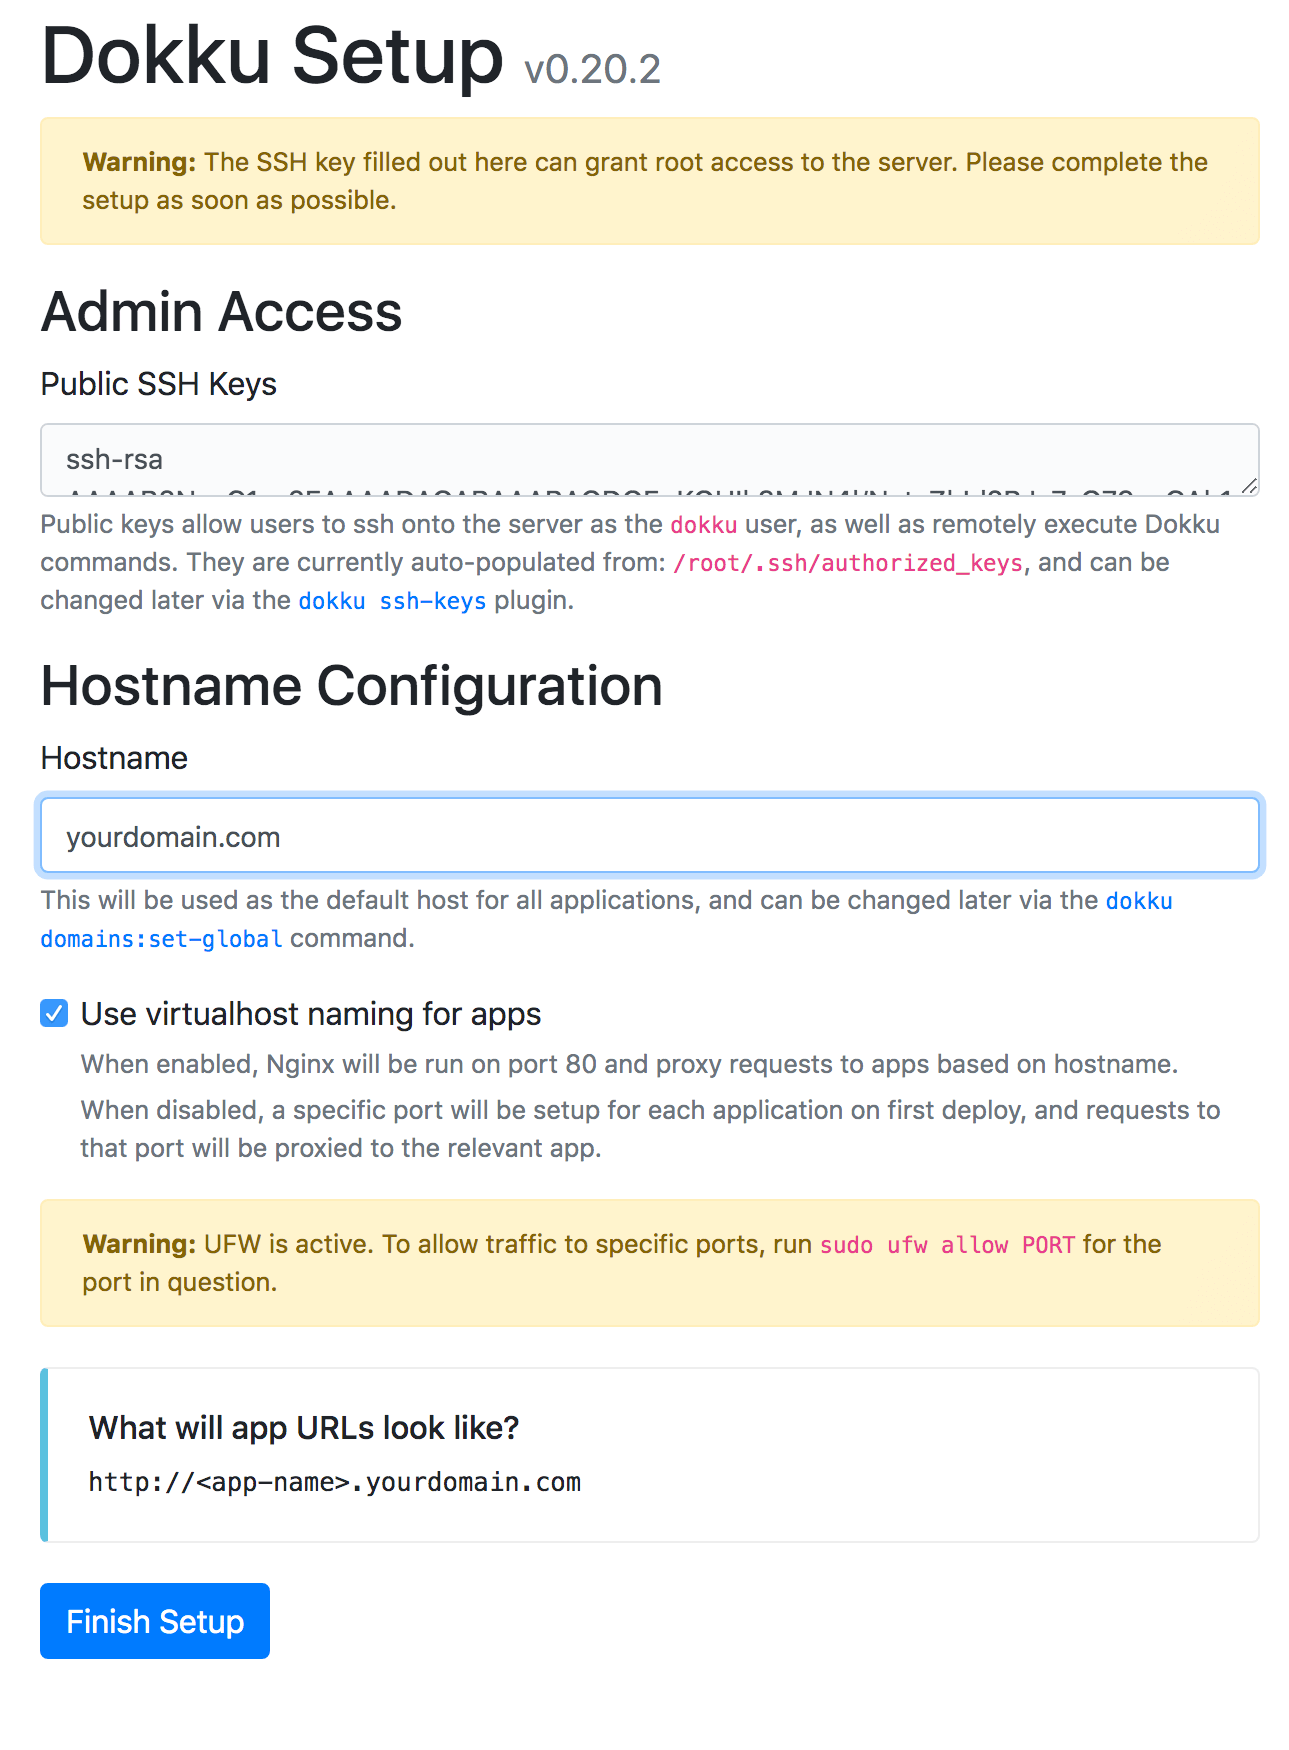
When the update is done, we can go ahead and setup Dokku by navigating to our IP address in the browser (http://123.456.789.101).
Here you will be greeted with Dokku setup page. Verify that the SSH key is correct and add your domain name and click the checkbox to use virtualhost naming for apps.

If you select to use virtualhost naming for apps your applications will be available at http://appname.yourdomain.com and you can redirect individual apps to specific domains later. Just because you choose virtualhost naming you don't have to server your final application from the "appname" subdomain.
That's basically all there is to it, we have now installed Dokku on DigitalOcean and are now ready to start serving our dokker-powered containerized applications.
Hope you enjoyed the tutorials, in the next part of this series I will cover how we can setup individual apps, install heroku-buildpacks, setup redirects and SSL certificates.
 Freddie
4 years, 3 months ago
0


